

If you have an Android app with multiple fragments that are unable save state (e.g they have a WebView), it can be a real drag to your users when state is lost when navigating around your app.
To fix this, we can cache the fragments that your user has visited by using some features of the FragmentManager.
0: Creating a Master-Detail app
For this, we can use a the built-in Master-Detail template. We'll be using the app on a tablet device but only because the app template doesn't use fragments on mobile. We'll also have to make a few modifications to swap the default TextView with a WebView:
- The
item_detail.xmllayout needs to have a WebView:
<WebView xmlns:android="http://schemas.android.com/apk/res/android"
    xmlns:tools="http://schemas.android.com/tools"
    android:id="@+id/item_detail"
    android:layout_width="match_parent"
    android:layout_height="match_parent"
    android:padding="16dp"
    tools:context="im.gitter.myapplication.ItemDetailFragment" />
- The
ItemDetailFragment.javaneeds to load a long page into the WebView and to store the root view as a field:
@Override
public View onCreateView(LayoutInflater inflater, ViewGroup container, Bundle savedInstanceState) {
if (this.rootView == null) {
this.rootView = inflater.inflate(R.layout.item_detail, container, false);
WebView webView = ((WebView) rootView.findViewById(R.id.item_detail));
webView.setWebViewClient(new WebViewClient());
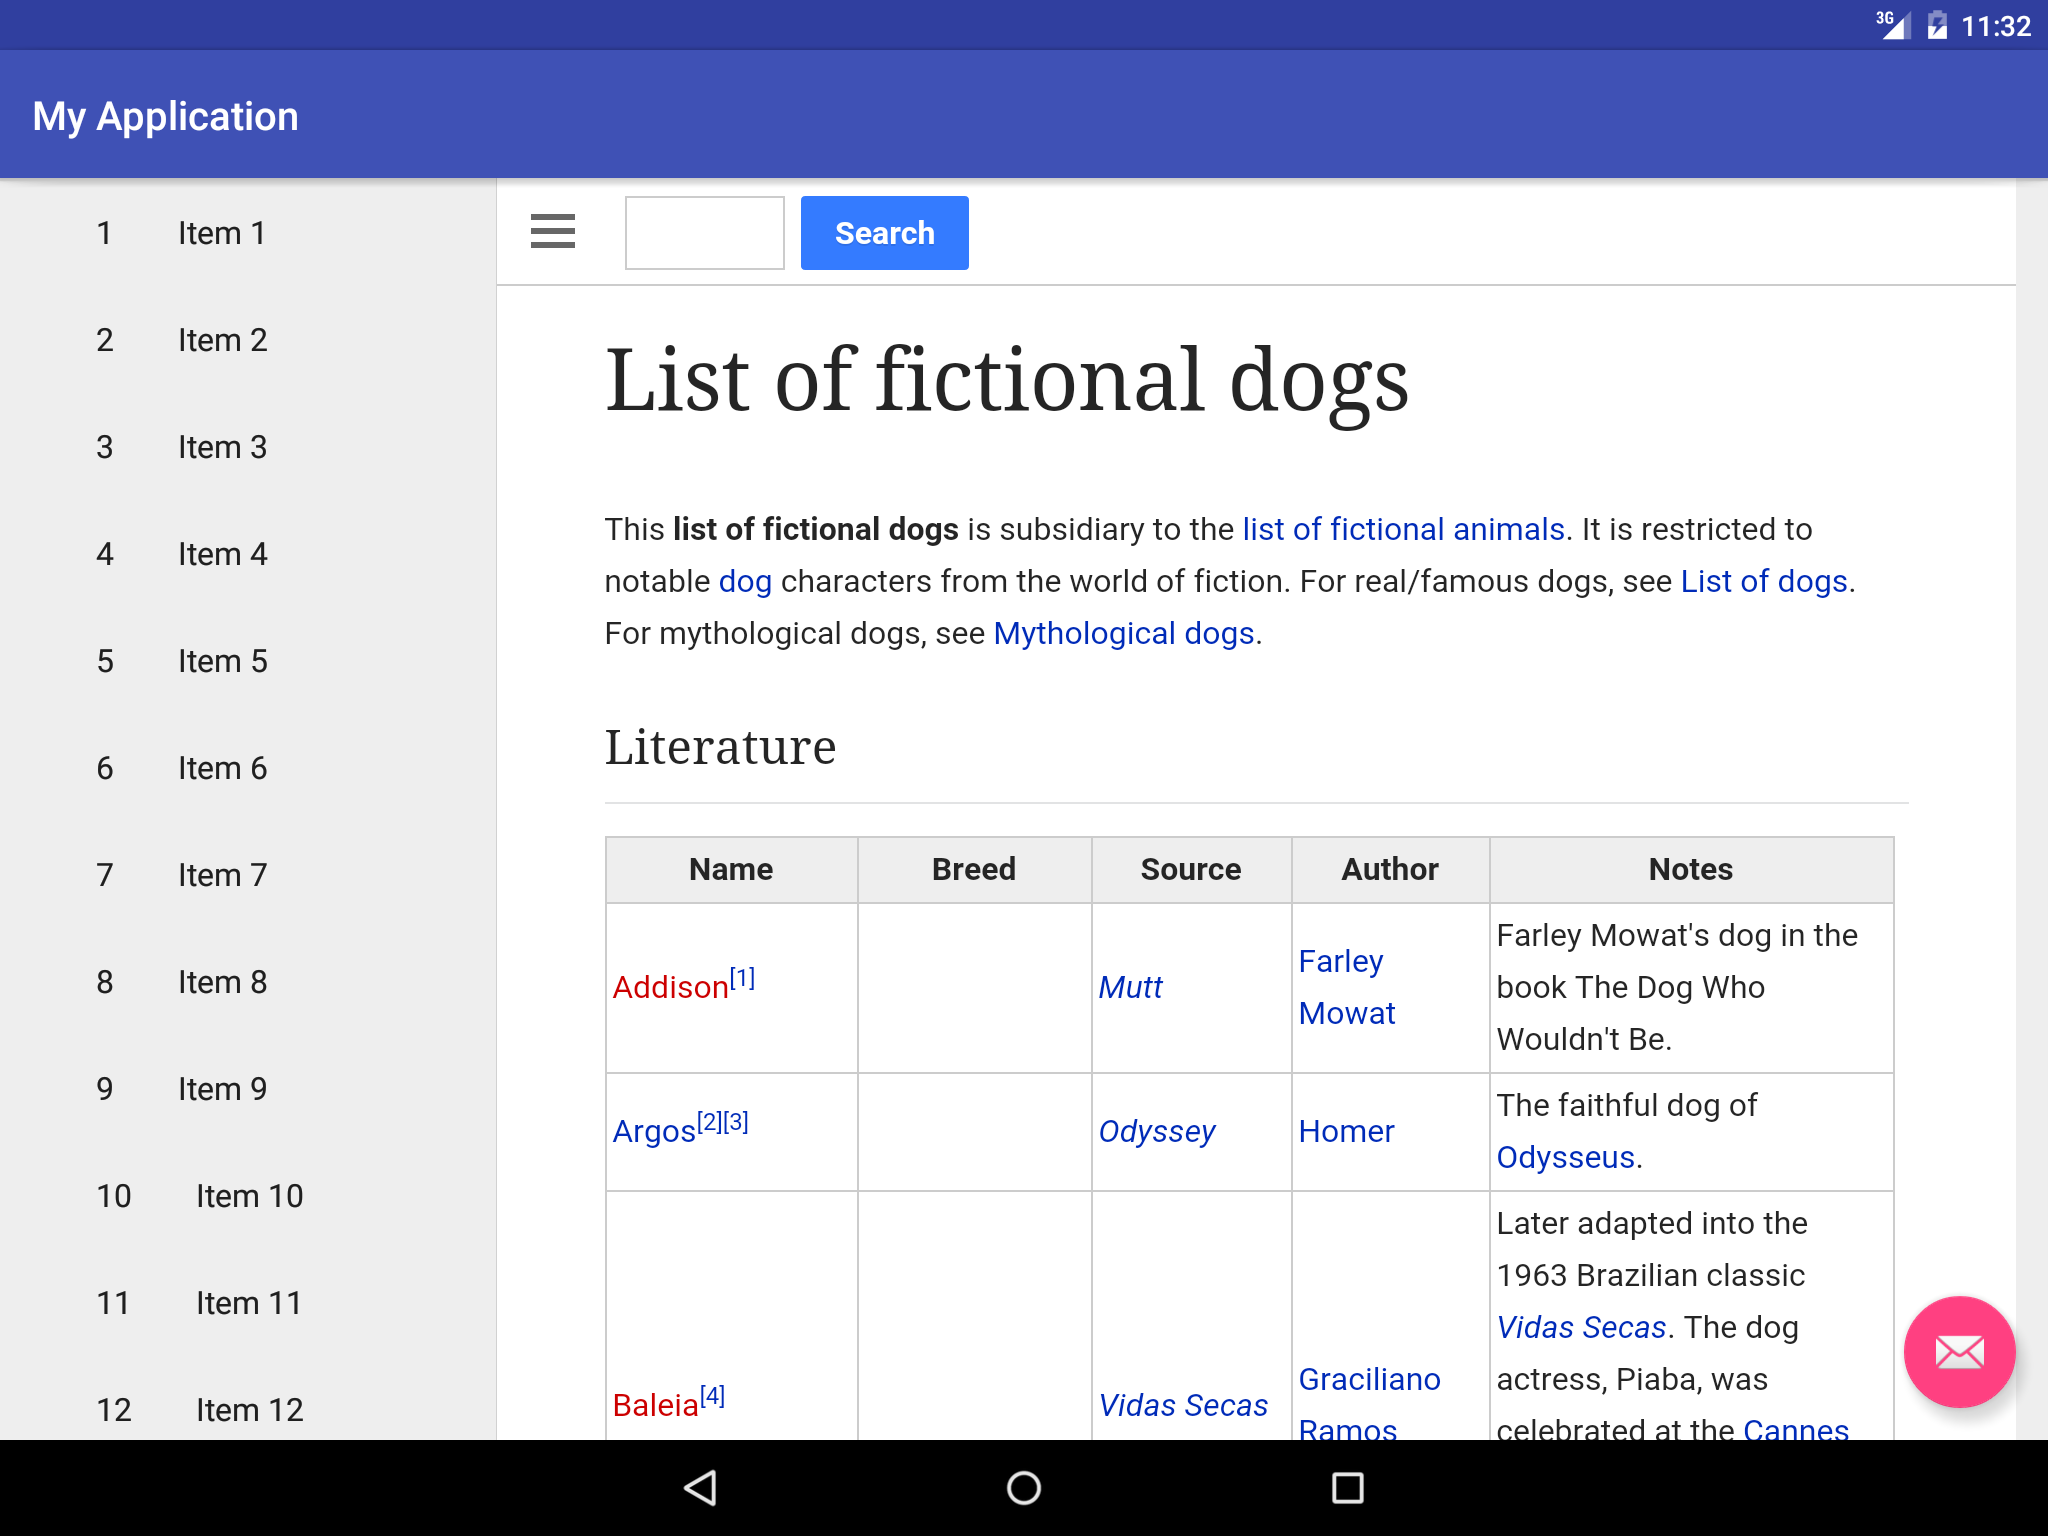
webView.loadUrl("https://en.wikipedia.org/wiki/List_of_fictional_dogs");
}
return this.rootView;
}
- The
AndroidManifest.xmlneeds to request permission to load our wikipedia page:
<uses-permission android:name="ANDROID.PERMISSION.INTERNET"></uses-permission>
1. Enabling the fragment back-stack
You may notice that after navigating around, the back button just quits the app. This is because the back stack only deals with activities and not their inner fragments. But we can enable the fragment manager's own fragment back-stack.
First we need to find where our fragments are being created (this is a little bit simplified):
new View.OnClickListener() {
  @Override
  public void onClick(View v) {
    Bundle arguments = new Bundle();
    arguments.putString(ItemDetailFragment.ARG_ITEM_ID, holder.mItem.id);
    ItemDetailFragment fragment = new ItemDetailFragment();
    fragment.setArguments(arguments);
    getSupportFragmentManager().beginTransaction()
      .replace(R.id.item_detail_container, fragment)
      .commit();
  }
}
...then get add the fragment to the back-stack with .addToBackStack(null)...
new View.OnClickListener() {
  @Override
  public void onClick(View v) {
    Bundle arguments = new Bundle();
    arguments.putString(ItemDetailFragment.ARG_ITEM_ID, holder.mItem.id);
    ItemDetailFragment fragment = new ItemDetailFragment();
    fragment.setArguments(arguments);
    getSupportFragmentManager().beginTransaction()
      .replace(R.id.item_detail_container, fragment)
      .addToBackStack(null)
      .commit();
  }
}
...before finally overriding our back button to pop off the fragment back-stack if it has any entries.
@Override
public void onBackPressed() {
  FragmentManager fragmentManager = getSupportFragmentManager();
  if(fragmentManager.getBackStackEntryCount() != 0) {
    fragmentManager.popBackStack();
  } else {
    super.onBackPressed();
  }
}
2. Using the back-stack as a cache
Here is where we take advantage of our fragment back-stack. Android already has all of our fragments cached in the stack, its just that they are only being reused when hitting the back button.
What we can do is when a user selects an item in our list, we can check if that fragment already exists in our back-stack (with FragmentManager.findFragmentByTag(tag)) and reuse it. This requires us to add a unique tag when the fragment is about to be committed in our .replace() call:
new View.OnClickListener() {
  @Override
  public void onClick(View v) {
    Bundle arguments = new Bundle();
    arguments.putString(ItemDetailFragment.ARG_ITEM_ID, holder.mItem.id);

    FragmentManager fragmentManager = getSupportFragmentManager();
    String tag = holder.mItem.id;

    ItemDetailFragment fragment = (ItemDetailFragment) fragmentManager.findFragmentByTag(tag);
    if (fragment == null) {
      fragment = new ItemDetailFragment();
      fragment.setArguments(arguments);
    }

    fragmentManager.beginTransaction()
      .replace(R.id.item_detail_container, fragment, tag)
      .addToBackStack(null)
      .commit();
  }
}
The beauty of this technique is that we are using Android's fragments api in a straightforward way, and so we don't have to second-guess any memory management in the background.